Holy crap! Just when I thought of using titanium wire to rebuild my Subtank Mini RBA, I came across this simple but sexy video showing exactly how to do that.
The video from VapingPauly is a silent video, but with great macro lens on the camera, it’s actually much easier to understand than most other build videos I have seen.
However everything happens very fast, so here’s what you pick up when you pause / slow things down:
- Get yourself some 26g titanium wire for rebuilding (I’m getting some from UD)
- Wipe about 10 inches with alcohol (he used vodka), and straighten it out with a drill to remove kinks add make it sturdier
- Trim the titanium wire to about 6 inches, and do 10 wraps on a 3mm coil jig or drill bit
- Space out the coil by tugging on both ends while its on your 3mm drill bit / coil jig
- Pull out both ends until you get the 6 most even wraps, most probably in the middle
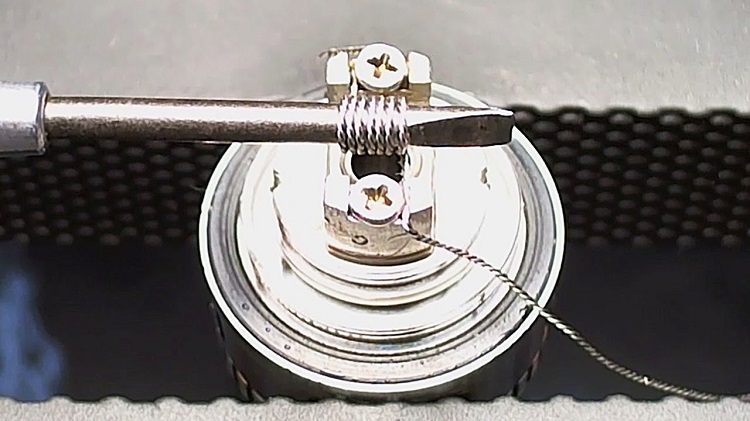
- Insert the coil into your Subtank Mini RBA, screw it in, and push the coil lower to the airflow inlet
- Adjust both leads so they do not touch the rest of the coils, and move the coil into place
- Wick with organic cotton or other material like rayon or Kendo cotton (he is using the “scottish roll” method”)
- Saturate the cotton, and put the Subtank on to a temperature control mod that does Titanium
- It should read at 0.35Ohm, and Pauly was firing it at 410 degrees F