
This is a continuation from DIY Squonk Mod Part 1 where I explained about the options I considered for my first DIY squonker project. So I received these in the mail a few days ago:
Not bad eh? I ordered two ModMaker design squonk boxes from Shapeways, and all the relevant parts from ModMaker themselves. I ordered the lowest cost 3D box called “Black Strong & Flexible Polished”.
What a weird way to name stuff, but it’s Nylon 3D print with some polishing. There were more expensive options offered by ModMaker on Shapeways, but I’m sad they removed the Alumide option. I’m not sure if this is an action by Shapeways, since all other 3D squonk box design I’ve seen also no longer have the Alumide option.
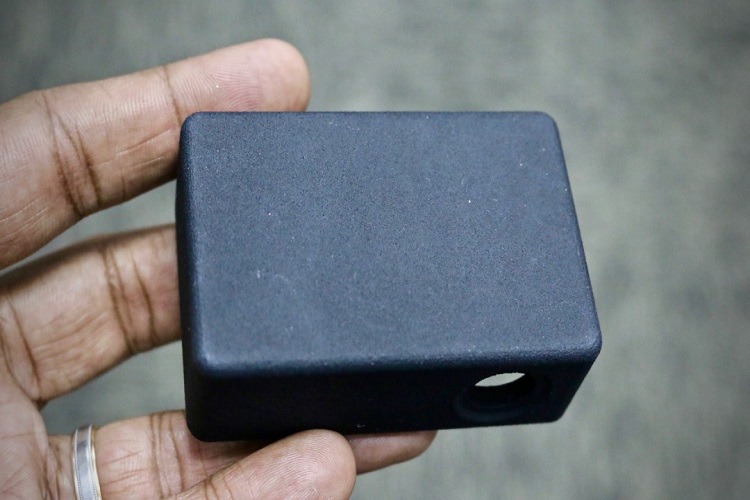
The red lid is a standard 3D Nylon print while the clear is acrylic, which wasn’t quite how I expected it to be. Perhaps this is how it would look for a 3D-printed thing, but I was expecting clear acrylic without the “cloudiness” inside.
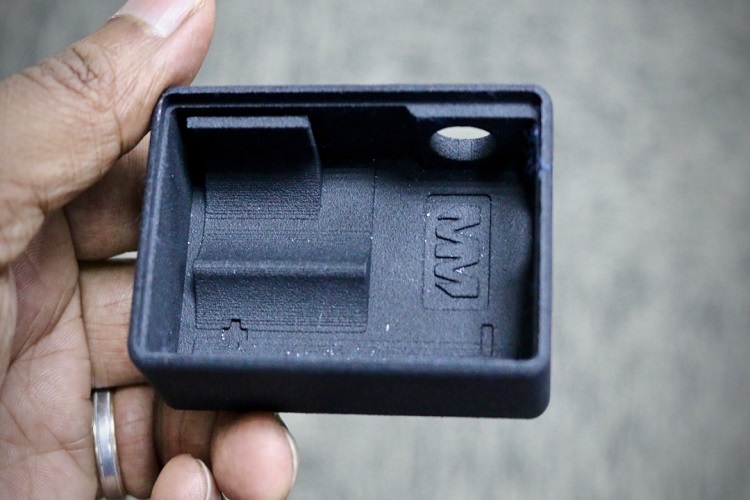
Inside the box looks clean, with the ModMaker logo, battery polarity markers, and cradle for the battery and bottle. Using a square bottle will be difficult on this.
At the back, finishing is smooth and flat. The 510 cutout is exact and perfect for the ModMaker 510.
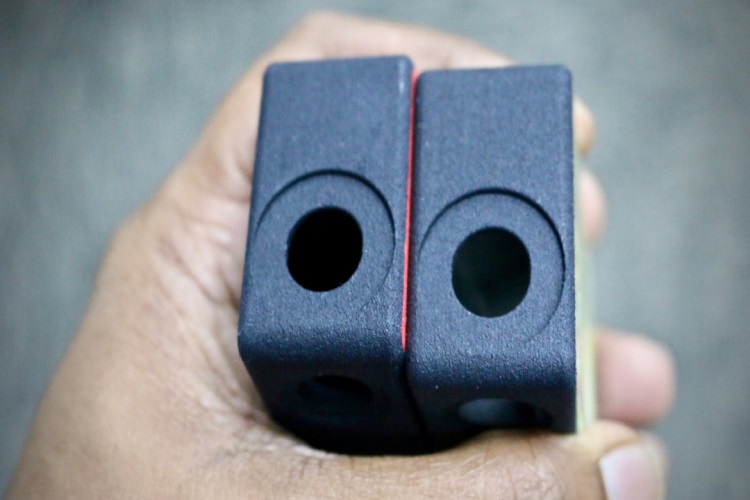
However, you can see a slight color variation between the two black boxes. If you look closely, one is slightly deeper black than the other. I am not sure if these were both printed in the same machine, but I’m pretty sure underneath the black coat it will be white.
I guess this is a variance in the dyeing process, and I can always dip it a bit longer in black dye if I want. You may want to check my tutorial on how to dye 3D printed box mods.
And the parts arrived a few days later, with everything I needed to make it happen.
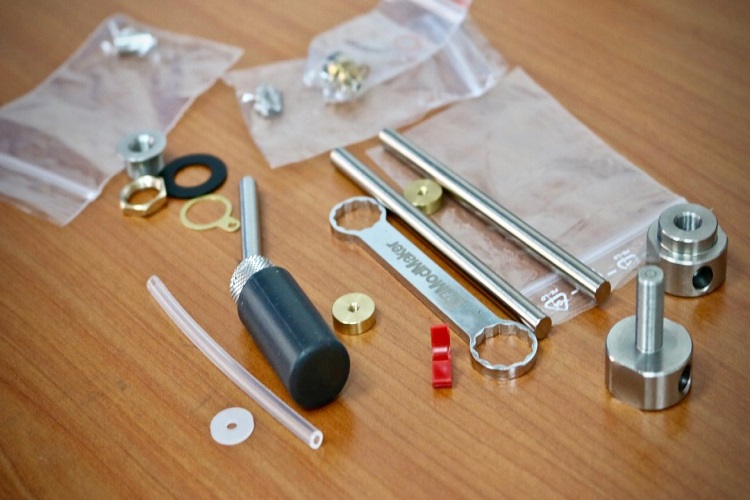
All the ModMaker parts were great, although you had to assemble everything even the silicon bottle. I found the bottle to be a bit weird, with a washer actually making the seal underneath the bottle cap. Without the washer, the tube will be too loose unless you replace it with a thicker tube.
Only one issue: the button cutout in the 3D printed mod enclosure was too tight for the ModMaker stainless steel actuators. Looks like I will need to sand the hole bigger to make this work.
So we’re set to go! Watch the video above for a complete explanation on how the parts work, as as you can see I managed to make my first box pretty easily. Although, some mistakes were made.
In DIY Squonk Mod part 3 for ModMaker I will show you the complete process on how to assemble the parts, shape the contacts and test fit everything..